Discover the joy of crocheting adorable chickens with free PDF patterns! Perfect for crafters of all skill levels, these designs offer detailed instructions for creating cute, realistic, or whimsical chicken toys. Whether you’re a beginner or an experienced crafter, these patterns provide a fun and creative way to bring your yarn to life.
Overview of Amigurumi Chicken Patterns
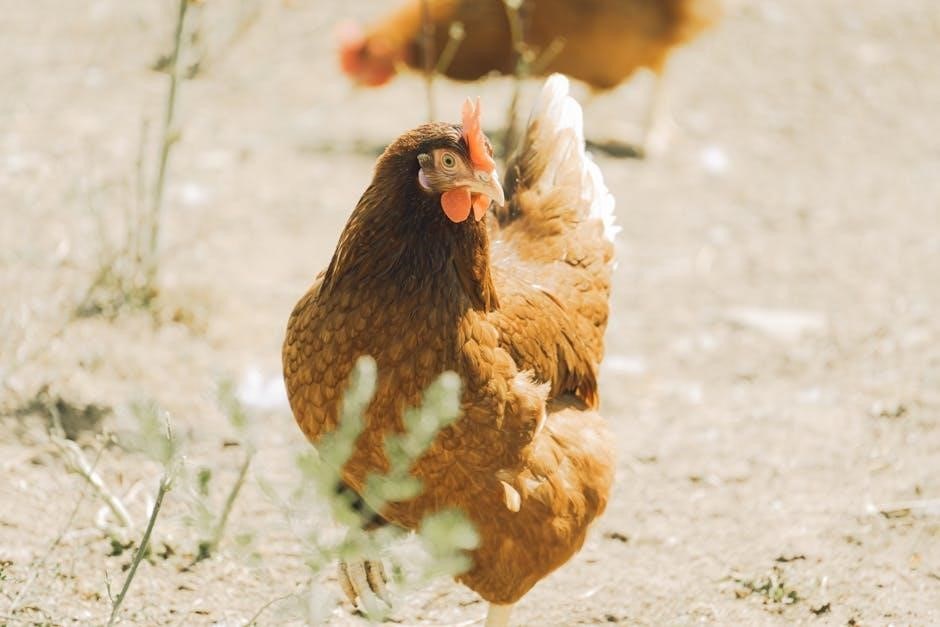
Amigurumi chicken patterns are charming and detailed designs that bring to life adorable, cuddly chickens using crochet. These patterns, often available as free PDF downloads, guide crafters through creating realistic or whimsical chicken toys. Perfect for beginners and experienced crocheters alike, they typically include step-by-step instructions for the body, legs, wings, and head. The patterns emphasize the use of high-quality yarn and basic stitches to achieve a soft, huggable texture; Many designs are customizable, allowing for unique variations in color, size, and accessories. Whether for personal use or as gifts, these patterns make crafting a delightful chicken a fun and rewarding project.
Why Choose Free PDF Patterns for Crochet Chickens
Opting for free PDF patterns for crochet chickens offers numerous advantages. These patterns are cost-effective, allowing crafters to explore new designs without financial commitment. Many free PDFs are meticulously detailed, providing clear step-by-step instructions suitable for all skill levels. They often include visuals and tips, making the crochet process smoother. Additionally, free patterns encourage creativity and experimentation, as crafters can modify designs to suit personal preferences. With a wide variety of styles available, from realistic to whimsical, free PDF patterns cater to diverse tastes. They are also easily accessible and sharable, making them a great resource for beginners and experienced crafters alike. This accessibility fosters a sense of community and inspiration within the crochet world.
Popular Sources for Free Chicken Crochet Patterns
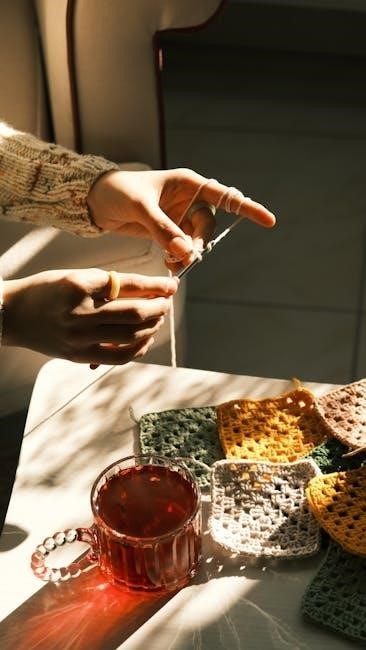
Discovering free chicken crochet patterns is easy, thanks to various online platforms. Websites like Moogly, The Spruce Crafts, and Ravelry offer an array of free PDF patterns designed by talented creators. These platforms often feature detailed instructions, visuals, and materials lists, making them ideal for crafters of all levels. Additionally, Etsy and Pinterest are great resources, with many designers sharing free patterns or offering them as part of their collections. Some patterns are even available for instant download, allowing you to start crocheting your chicken right away. Whether you prefer whimsical or realistic designs, these sources provide a wealth of options to suit your creative vision.
Understanding the Free Chicken Crochet Pattern PDF
This free PDF guide offers a comprehensive crochet pattern for creating a charming chicken. It includes detailed instructions, materials lists, and step-by-step directions for all skill levels.
Key Features of the Pattern
The free chicken crochet pattern PDF offers a detailed, step-by-step guide to creating an adorable amigurumi chicken. It includes a materials list, stitch tutorials, and photos for clarity. The pattern is designed for all skill levels, with clear instructions for beginners. It features customizable options, allowing crafters to personalize their chicken’s appearance. The PDF includes tips for shaping the body, legs, wings, and head, ensuring a realistic and charming finish. With its comprehensive design, this pattern is perfect for those looking to create a unique and cuddly crochet project.
What Skills Are Required to Follow the Pattern
Following the free chicken crochet pattern PDF requires basic crochet skills, such as understanding single crochet (sc) and slip stitch (sl st). The ability to read written instructions and follow step-by-step guidance is essential. While experience with amigurumi crochet is helpful, it’s not necessary, as the pattern is designed to be accessible. Beginners should be comfortable with basic yarn handling and stitch repetition. The pattern’s detailed instructions and photos make it easier for those with limited experience to learn and complete the project successfully. Advanced skills, like complex stitching, are not required, making this pattern ideal for crafters of all levels.
Why This Pattern is Perfect for Beginners
This free chicken crochet pattern PDF is an excellent choice for beginners due to its clear, easy-to-follow instructions. The pattern is designed with simplicity in mind, making it accessible to those new to crochet. It requires basic crochet skills, such as single crochet and slip stitch, and provides step-by-step guidance to ensure success. The detailed instructions and photos help beginners understand each part of the process. Additionally, the pattern is forgiving, allowing for small mistakes without ruining the overall result. This makes it a great way for newcomers to build confidence and improve their crochet skills while creating a charming, adorable chicken toy.
Materials Needed for the Chicken Crochet Project
Medium-weight yarn, a 3.5mm or 4mm crochet hook, stuffing material, scissors, and a tapestry needle are essential. Optional items include stitch markers for accuracy and embroidery floss for details.
Recommended Yarn and Hook Size
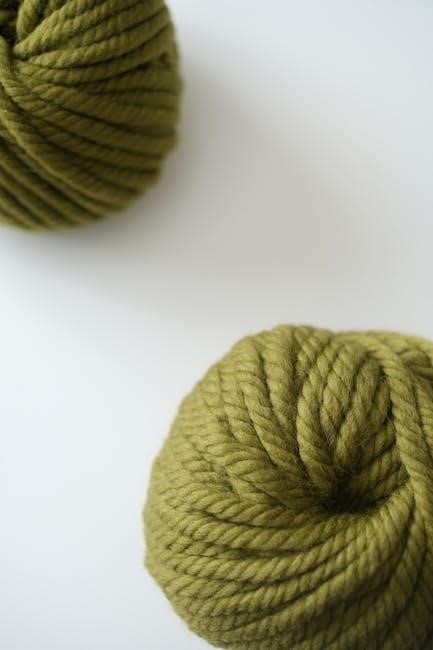
For a soft and cuddly chicken, medium-weight acrylic yarn is ideal, as it provides the perfect balance of texture and durability. Chenille yarn is another excellent choice for a smooth, plush finish. A 3.5mm to 4mm crochet hook is typically recommended, depending on the yarn weight and desired tightness of the stitches. Using the correct hook size ensures that your chicken will have the right proportions and a professional finish. Always check the gauge provided in the pattern to ensure accuracy. If substituting yarn, choose one with similar fiber content and weight for consistent results. This ensures your project turns out as envisioned.
Stuffing and Other Essential Supplies
Polyester fiberfill is the go-to stuffing material for crochet chickens, providing a soft, plush texture while maintaining shape. A chopstick or pencil can help push stuffing into tight spaces like wings or legs. For details like eyes or a beak, embroidery floss or small buttons work perfectly. Safety eyes are another popular choice for a more realistic look. Scissors, a tapestry needle, and stitch markers are must-haves for weaving ends and securing parts together. Optional supplies include fabric paint for adding intricate details or a small bag of beads for weight in the base. These materials ensure your chicken is both adorable and durable, ready to be loved for years to come.

Detailed Step-by-Step Instructions
Follow clear, easy-to-understand guidance to crochet a charming chicken. Each part, from the body to wings and tail, is explained in detail for all skill levels.
Crocheting the Chicken’s Body
Start by creating a magic ring and working single crochet stitches to form the base. Gradually increase stitches to shape the body into a rounded form. Use a consistent tension to ensure symmetry. Stuff the body firmly with polyester fiberfill as you go to maintain shape. Follow the pattern’s specific instructions for stitch counts and rounds to achieve the perfect size and texture. This step is crucial for the overall structure and is detailed clearly in the PDF, making it accessible for all skill levels. The body serves as the foundation, so take your time to ensure even stitching and proper stuffing.
Creating the Legs and Feet
Crochet the legs and feet using double crochet stitches, starting with a magic ring to form small circles. Shape each leg into a cylindrical form, ensuring they are evenly sized. Stuff the legs lightly with fiberfill to maintain their shape. Attach the feet by slip-stitching them to the base of the legs. Use single crochet stitches to create the foot pads, ensuring a natural curve. The pattern provides clear guidance on stitch counts and shaping; Properly aligning the legs and feet is essential for balance. This step adds character to your chicken, making it stand out. Follow the PDF instructions carefully for a realistic finish.
Adding Wings and Tail Feathers
Bring your chicken to life by crocheting its wings and tail feathers using single crochet and half double crochet stitches. Start by creating wing shapes, ensuring they are symmetrical and slightly curved for a natural appearance. The tail feathers are typically longer and narrower, crocheted in rows to mimic real feathers. Attach the wings to the chicken’s body just below the neck, and secure the tail feathers at the back. Use a tapestry needle to weave in yarn ends for a clean finish. The PDF pattern provides stitch counts and shaping guidance to ensure proper proportions. This step adds movement and personality to your crochet chicken, making it visually appealing and realistic.
Shaping the Head and Beak
Shaping the head and beak is a crucial step in creating a realistic and charming crochet chicken. Begin by crocheting a small oval shape for the head using single crochet stitches. Use increases and decreases to form the desired shape. The beak is typically crocheted separately as a small triangular piece, then attached securely to the head. Position the beak slightly below the top of the head for a natural look. Use a tapestry needle to weave in yarn ends. The PDF pattern provides guidance on stitch counts and shaping to ensure proportions are accurate. This step brings personality to your chicken, making it recognizable and endearing. Properly shaping the head and beak is key to achieving a lifelike appearance.
Designing the Comb and Wattle
Designing the comb and wattle adds character to your crochet chicken. The comb, typically positioned atop the head, is crocheted as a small, rounded or pointed piece, often in red yarn for a realistic look. The wattle, hanging below the beak, is similarly crafted with basic stitches. Both elements are securely attached using a tapestry needle. The PDF pattern provides precise guidance on sizing and placement. These details enhance the chicken’s authenticity and personality, making it instantly recognizable. By following the pattern, you can achieve a balanced and visually appealing design, ensuring your chicken stands out with its unique features.
Assembly and Finishing Touches
Assembly and Finishing Touches
Assemble your crochet chicken by attaching the body, head, wings, and tail. Stuff firmly, shape evenly, and sew openings closed. Add final details like eyes for a polished look.
Putting It All Together
Assembling your crochet chicken involves carefully attaching each part—body, head, wings, and tail—using a tapestry needle and yarn. Ensure all pieces are securely stitched together. Stuff the body firmly with fiberfill before closing any openings. Shape the chicken evenly, making sure the form looks natural. Attach the legs and feet to the base of the body for stability. Sew the wings to the sides and the tail feather section at the back. Use black embroidery floss or safety eyes to create the eyes and beak for a realistic touch. Once complete, your amigurumi chicken is ready to delight as a decorative piece or cuddly toy.
Adding Final Details for a Realistic Look
Add the finishing touches to your crochet chicken by enhancing its facial features and texture. Use black embroidery floss to stitch on eyes and a beak, creating a lifelike expression. For feathers, lightly brush the yarn with a comb or use a needle to fray the edges, adding a natural texture. Attach small, rounded shapes for the wattles and comb, using red yarn for a pop of color. Stuff any remaining gaps to ensure a plump, even shape. Finally, trim any loose yarn ends and fluff the stitches for a polished appearance. These small details bring personality and realism to your handmade chicken, making it truly special.
Tips and Variations
Experiment with yarn colors and textures for unique looks. Add embellishments like buttons or sequins for personality. Try mini versions or seasonal themes for creative variations.
Customizing Your Crochet Chicken
Bring your crochet chicken to life with personal touches! Use vibrant yarn colors for a bold look or pastels for a soft appearance. Add buttons for eyes or embroider details like eyelashes for charm. Experiment with textures by mixing yarn types or incorporating fabric scraps. For a unique twist, attach small wings or a tail made from felt or crochet flowers. You can also create seasonal variations, like a Christmas-themed chicken with a tiny hat or a Easter-themed one with a basket. Personalize further by adjusting the size or adding accessories like a bowtie or scarf. Let your creativity shine and make each chicken truly one-of-a-kind!
Choosing the Right Yarn for Different Looks
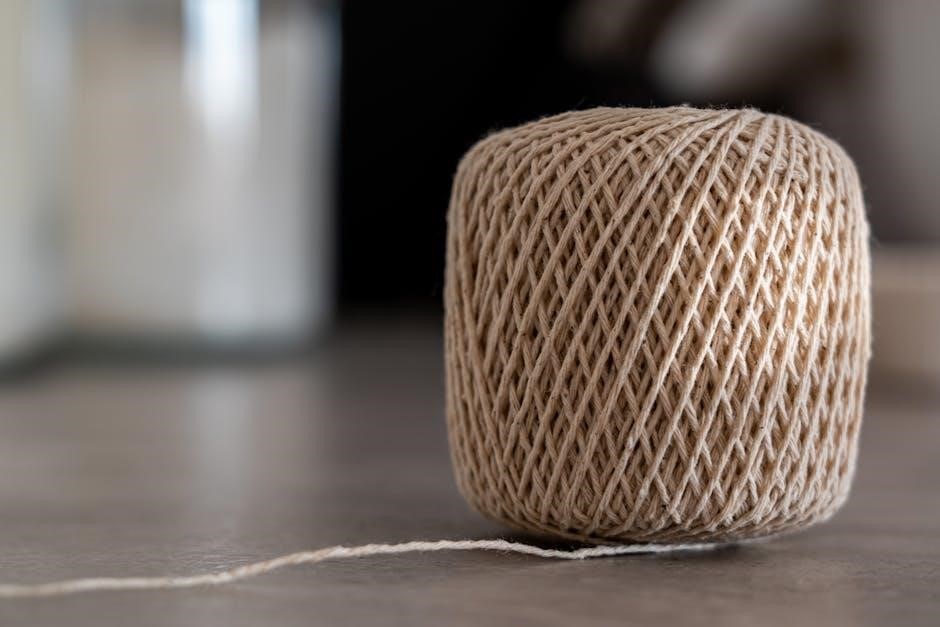
Selecting the perfect yarn can completely transform your crochet chicken project. For a soft, cuddly texture, opt for chenille or medium-weight acrylic yarn. Cotton yarn is ideal for a more structured, durable design. If you want a vintage or rustic look, try using bulky or chunky yarns. Experiment with variegated yarns for a multi-colored, unique appearance. Metallic or glitter yarns can add a festive touch, while pastel shades create a soft, baby-friendly look. Consider the season or theme when choosing colors—bright hues for summer or earth tones for fall. The yarn’s weight and fiber will also affect the stuffing visibility and overall shape. Choose wisely to achieve the desired aesthetic for your crochet chicken!
Troubleshooting Common Mistakes
Fix uneven stitches by recounting rounds and ensuring tension consistency. Adjust chicken size by modifying hook size or yarn weight. Correct assembly errors by double-checking pattern instructions.
Fixing Uneven Stitches
Uneven stitches can ruin the appearance of your crochet chicken. To fix this, ensure consistent tension while crocheting. If stitches are too tight or loose, adjust your hook size slightly. Recount stitches in each round to maintain pattern accuracy. For minor unevenness, block the finished piece to even out the fabric. If the issue persists, practice the stitch pattern on a swatch before starting the chicken. Pay attention to increases and decreases, as they can cause misshapen areas. Regularly checking your work and correcting mistakes early will help achieve a professional finish. This step ensures your chicken looks neat and well-crafted.
Adjusting the Size of the Chicken
To adjust the size of your crochet chicken, consider modifying the hook size or yarn weight. Using a larger hook and thicker yarn will result in a bigger chicken, while a smaller hook and finer yarn will yield a smaller one. You can also add or reduce rows and rounds in the body, legs, and wings to achieve the desired proportions. For precise control, increase or decrease stitches incrementally, ensuring symmetry. Maintain the pattern’s gauge to keep the shape consistent. This flexibility allows you to customize your chicken’s size, making it perfect for decorations, toys, or gifts. Adjustments are easy, enabling you to create a chicken that fits your project needs.
Sharing Your Finished Project
Display your crochet chicken proudly or gift it to loved ones. Share your creation on social media or crafting communities to inspire others and showcase your talent.
Displaying Your Crochet Chicken
Your finished crochet chicken can be a delightful decorative piece for your home or a charming gift for friends and family. Place it on a shelf, in a basket, or even as part of a seasonal display to add a touch of handmade charm. For parents, it makes a sweet toy for a child’s room or a playful addition to a nursery. The compact size and cheerful design make it easy to showcase in various settings. You can also personalize it with small details like buttons or embroidery floss for the eyes to give it a unique character. Sharing your creation on social media or crafting communities can inspire others to try the pattern and celebrate your crafting skills.
Gifting or Selling Your Creation
Your crochet chicken can make a thoughtful and unique gift for friends, family, or coworkers, especially during holidays or special occasions. It’s a heartfelt way to share your crafting skills and bring joy to others. If you’re considering selling your creation, platforms like Etsy or local craft fairs are great avenues to showcase your work. Ensure your product is well-presented with clear photos and descriptions. Pricing should reflect the time, materials, and effort invested. Personalizing the chicken with custom colors or accessories can also increase its appeal. Whether gifting or selling, your crochet chicken is sure to charm and delight, making it a rewarding project to share with others.
Creating a crochet chicken is a rewarding project for all skill levels. With free patterns, you can craft a charming companion. Give it a try!
Final Thoughts on the Free Chicken Crochet Pattern
The free chicken crochet pattern PDF is an excellent resource for crafters of all levels. It offers a detailed guide to creating an adorable amigurumi chicken, perfect for beginners or seasoned crocheters. The pattern’s clarity and step-by-step instructions ensure a smooth crafting experience. With its versatility, you can customize the chicken’s appearance to suit your style. Whether you’re making it for personal enjoyment or as a gift, this pattern brings joy and creativity to your crochet journey. Don’t hesitate to explore the world of amigurumi with this charming chicken design—it’s a delightful project that’s sure to bring a smile to anyone’s face!
Encouragement to Try the Pattern
Embrace the fun of crocheting with the free chicken pattern PDF! Perfect for beginners, this design offers a rewarding experience with its clear, step-by-step instructions. Even if you’re new to amigurumi, the pattern’s simplicity ensures success. Customization options allow you to personalize your chicken, making it uniquely yours. The sense of accomplishment you’ll feel after completing this project is incredibly fulfilling. It’s also a great way to relax and express your creativity. Don’t hesitate to give it a try—this charming chicken is sure to bring joy to your home or make a thoughtful gift. Happy crocheting!